Initial Setup
By the end of this guide, you'll have the app up and running and know what the settings can do.
Ok, now that you have Better Calendar Views app installed, we need to do a few little things to set it up.
Open up the settings
All of the things that we need to configure are over in the settings panel, so let's start by opening that up.
Minimal setup
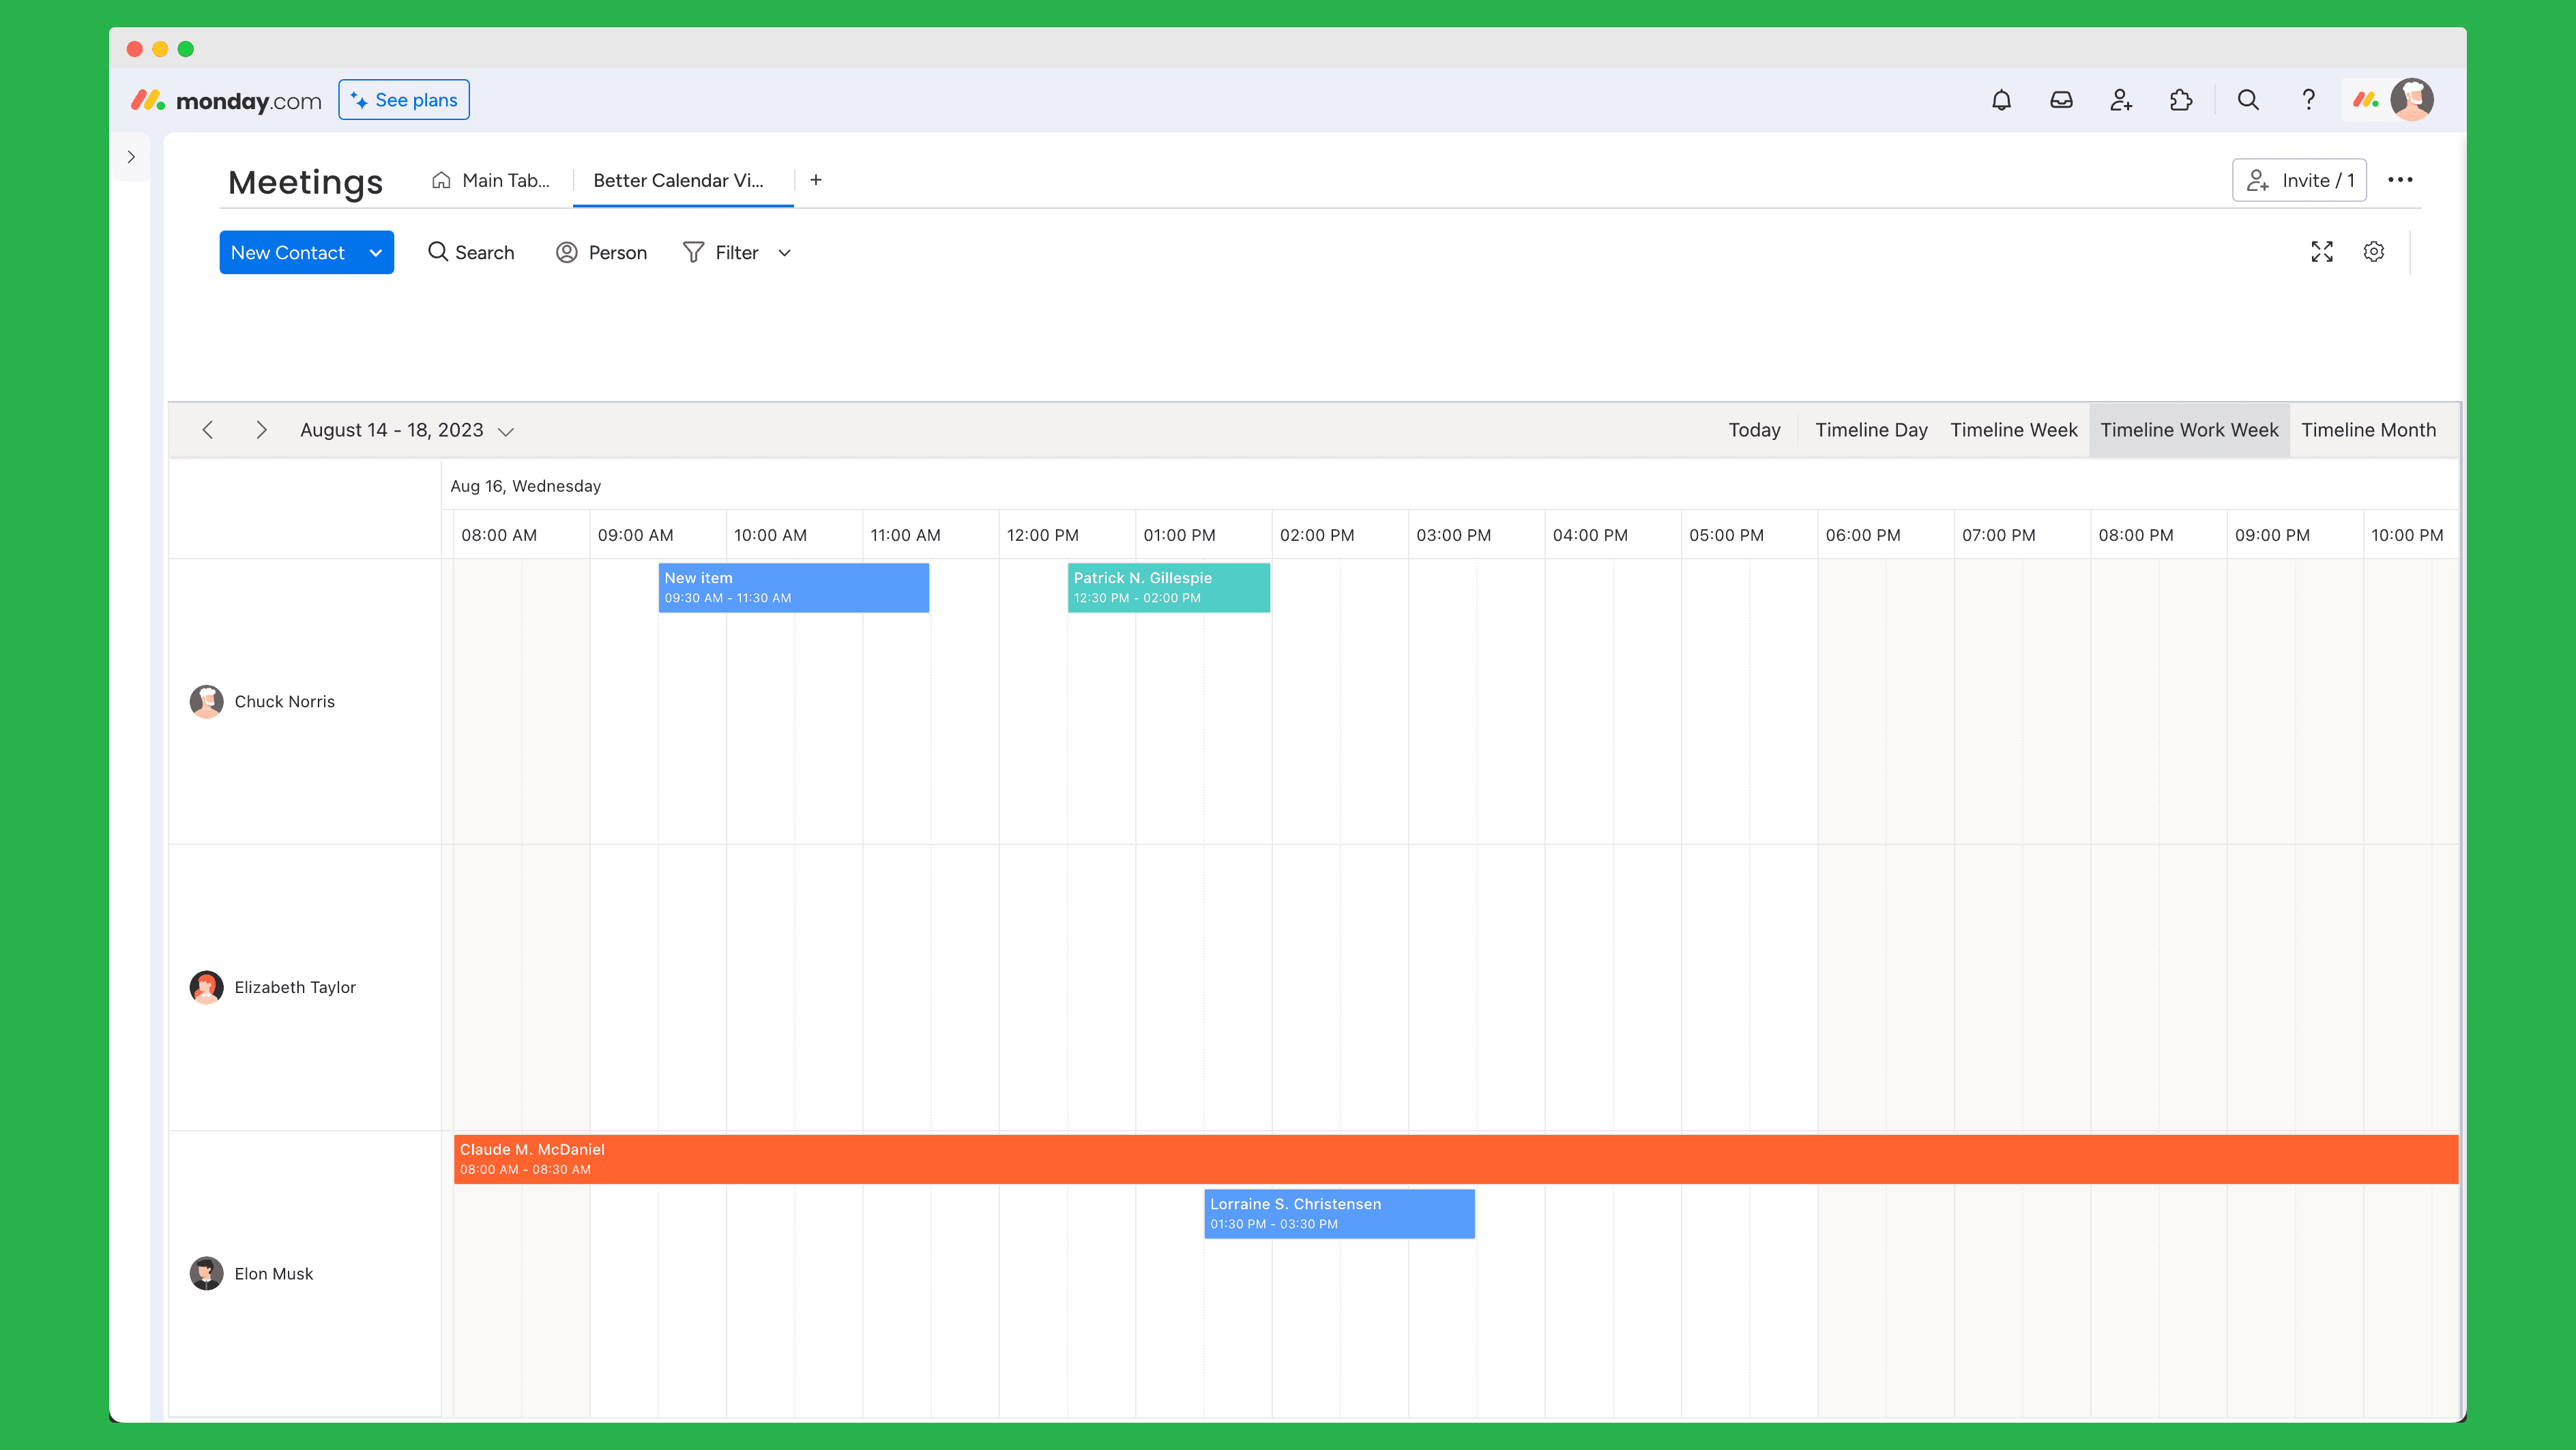
The minimal setup that you need in order for app to work is to configure the Start date and the End date fields. For those, you need to select what columns of your board will contain the start date (and time) of the events, and what column will contain the end date (and time).
Once these two are selected, you can start using the app! 🎉
Making things even nicer 🤩
Having a calendar such as this one is reeeeally nice:
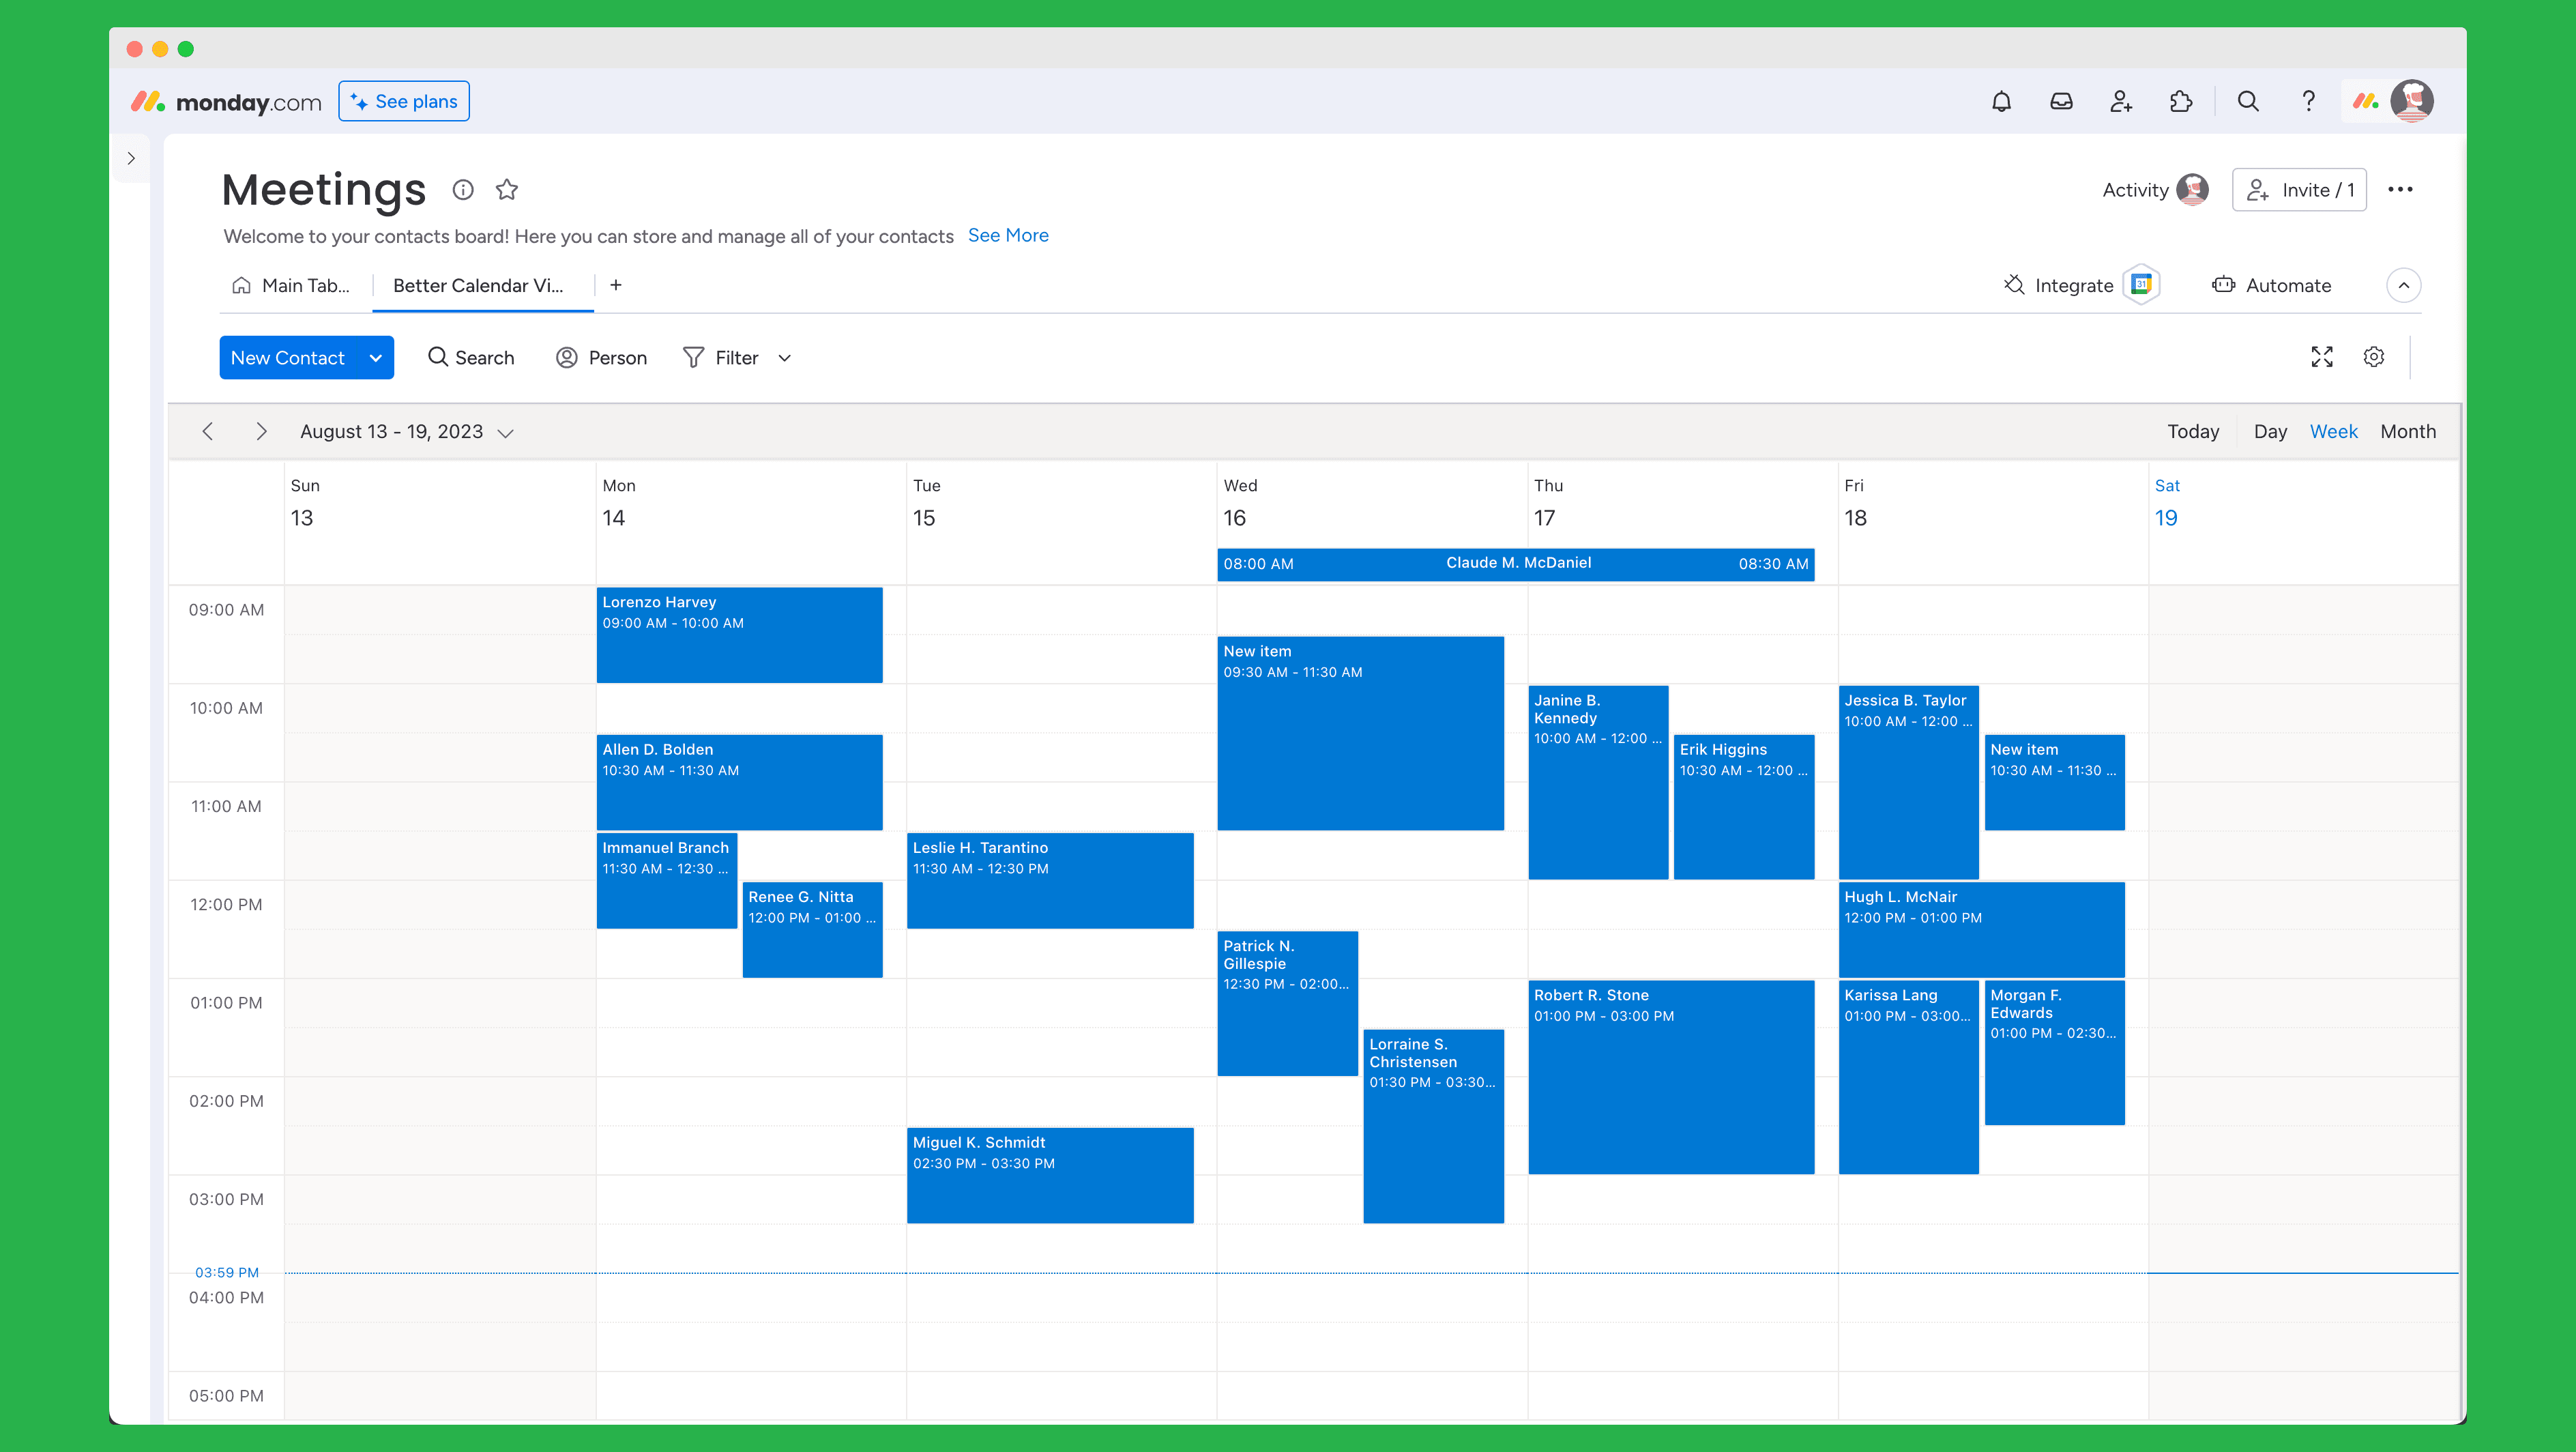
But, we can make it even better!
There are 3 settings you need to know about, and here is how to use them:
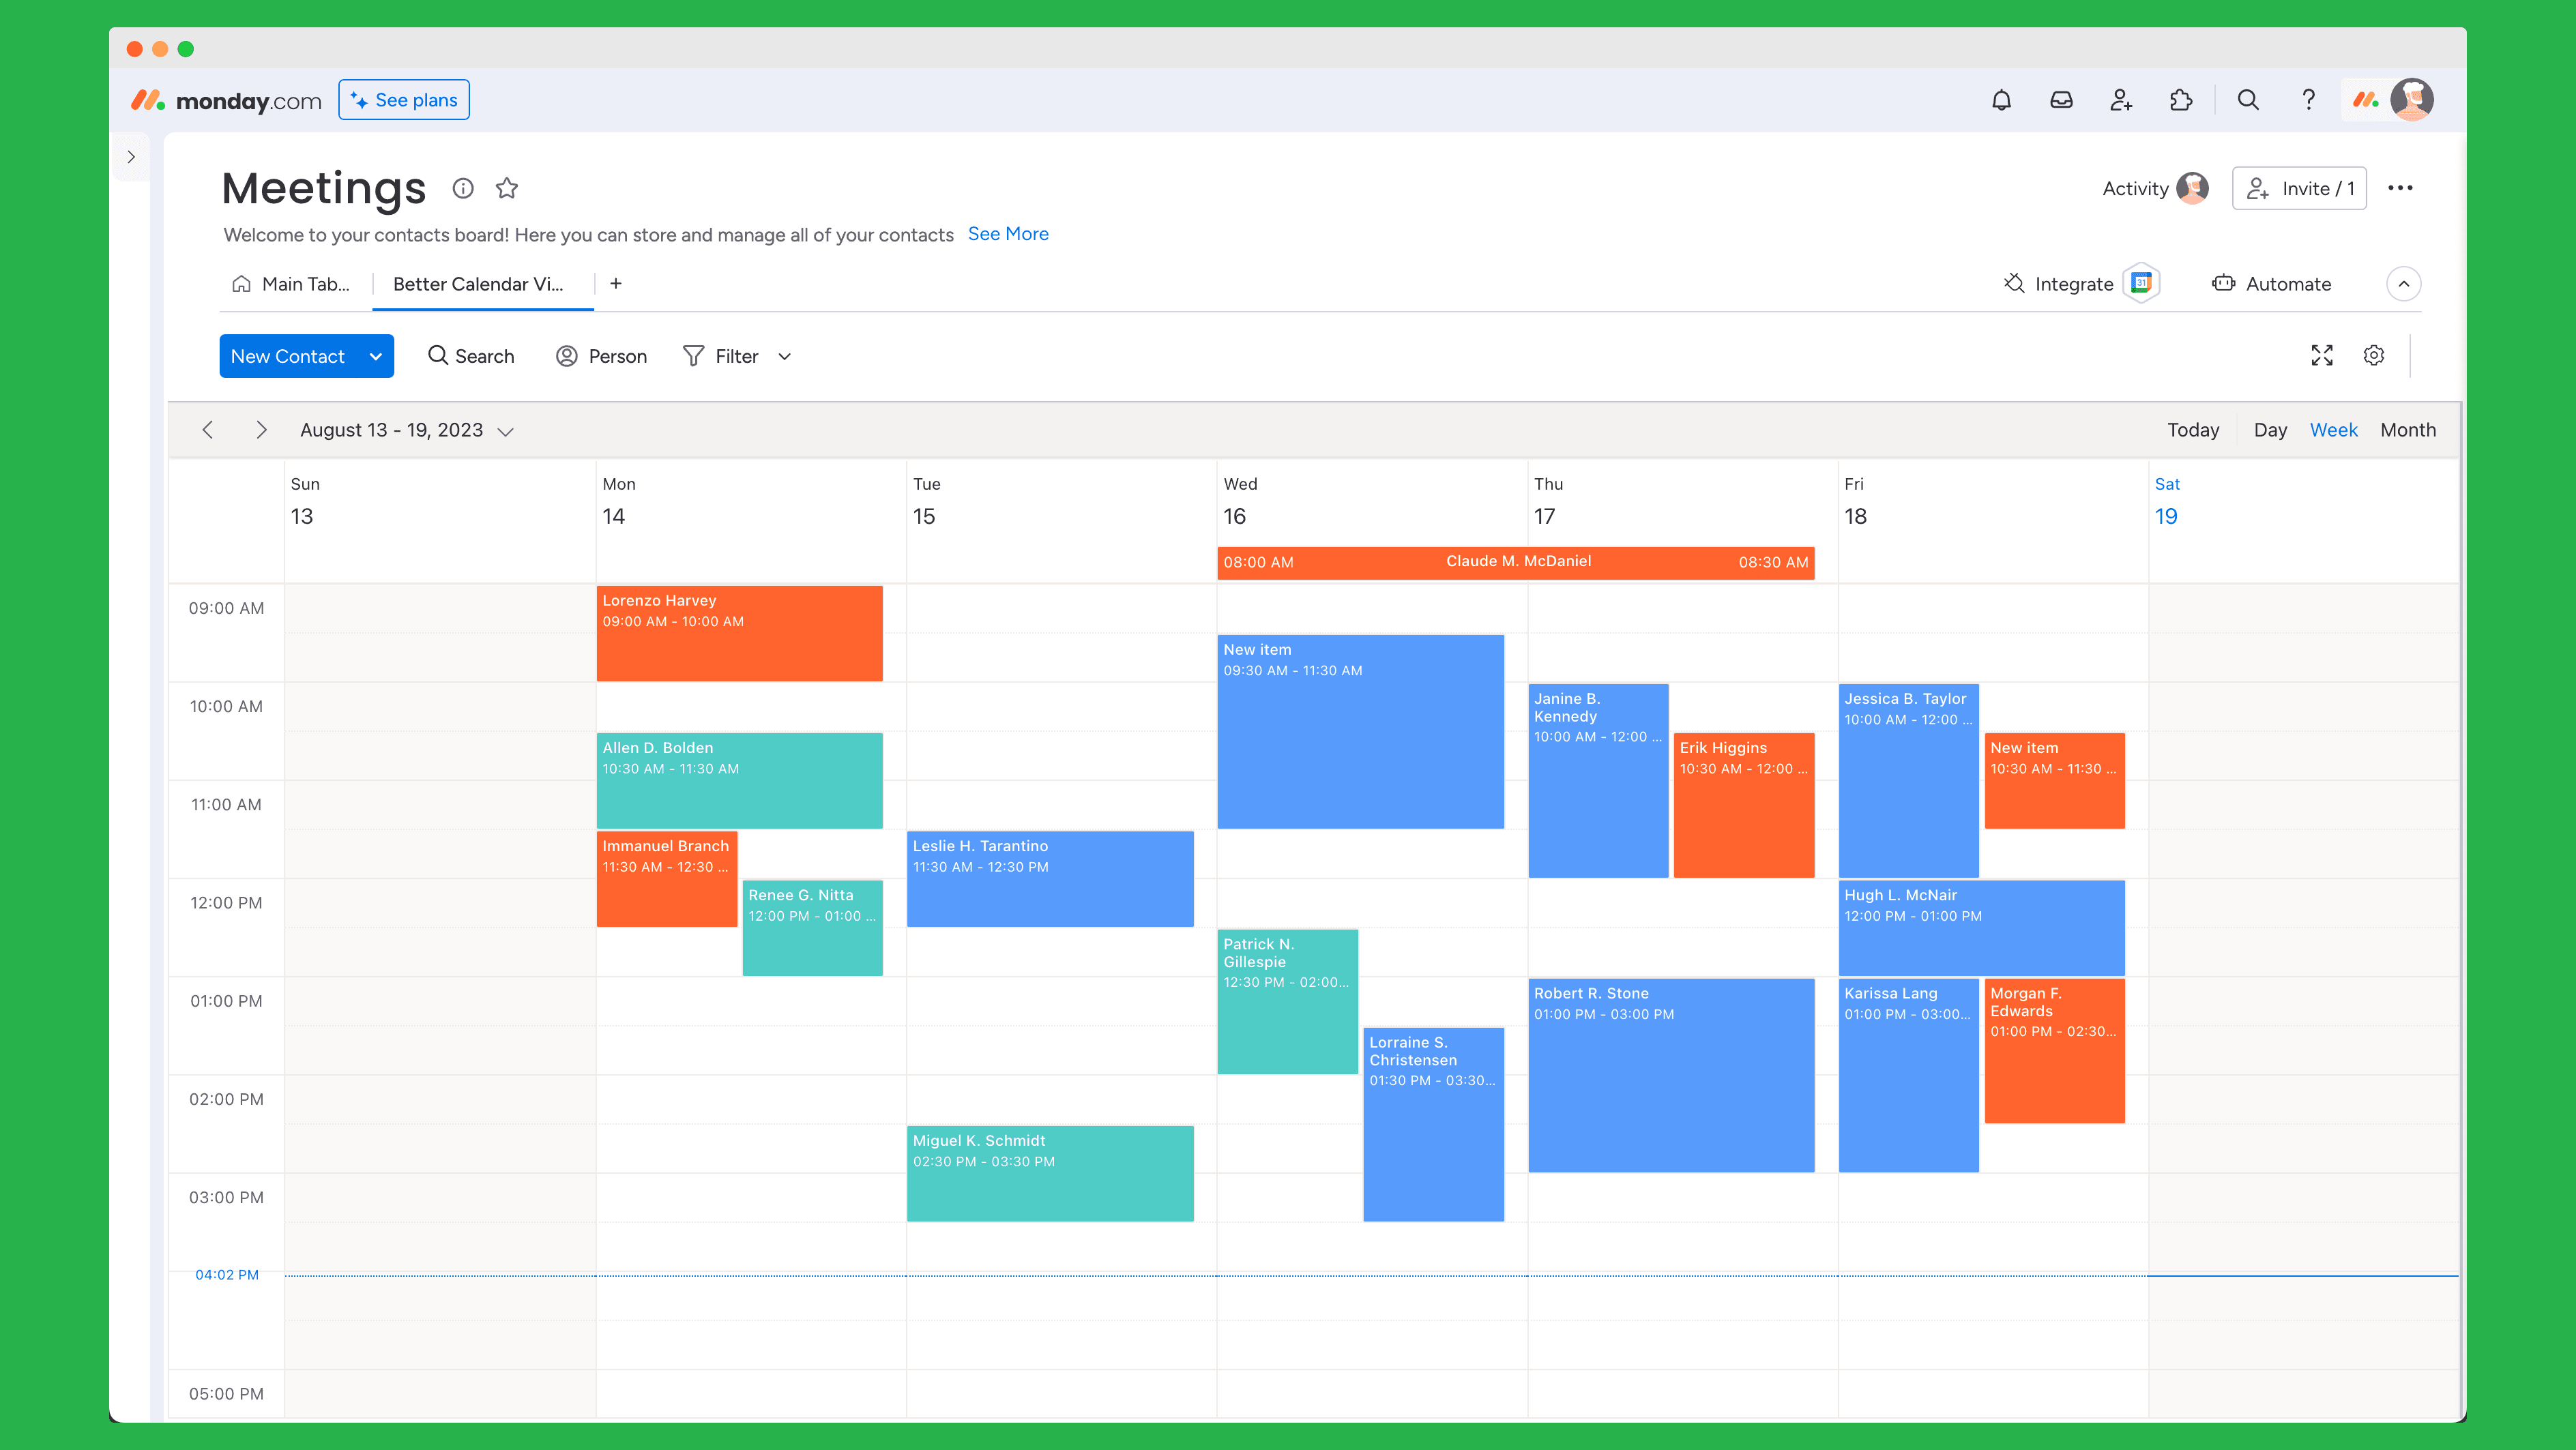
#1 Color by
Color by setting allows you to select a column that we will use to color-code your events, so you can qucikly differentiate between events. For example, if you have a column called "Status", you can use that to color-code your events by status.
We support three column types that you can use to color code your events by:
- People
- Status
- Tags
Just by color-coding your events, calendar looks even better!
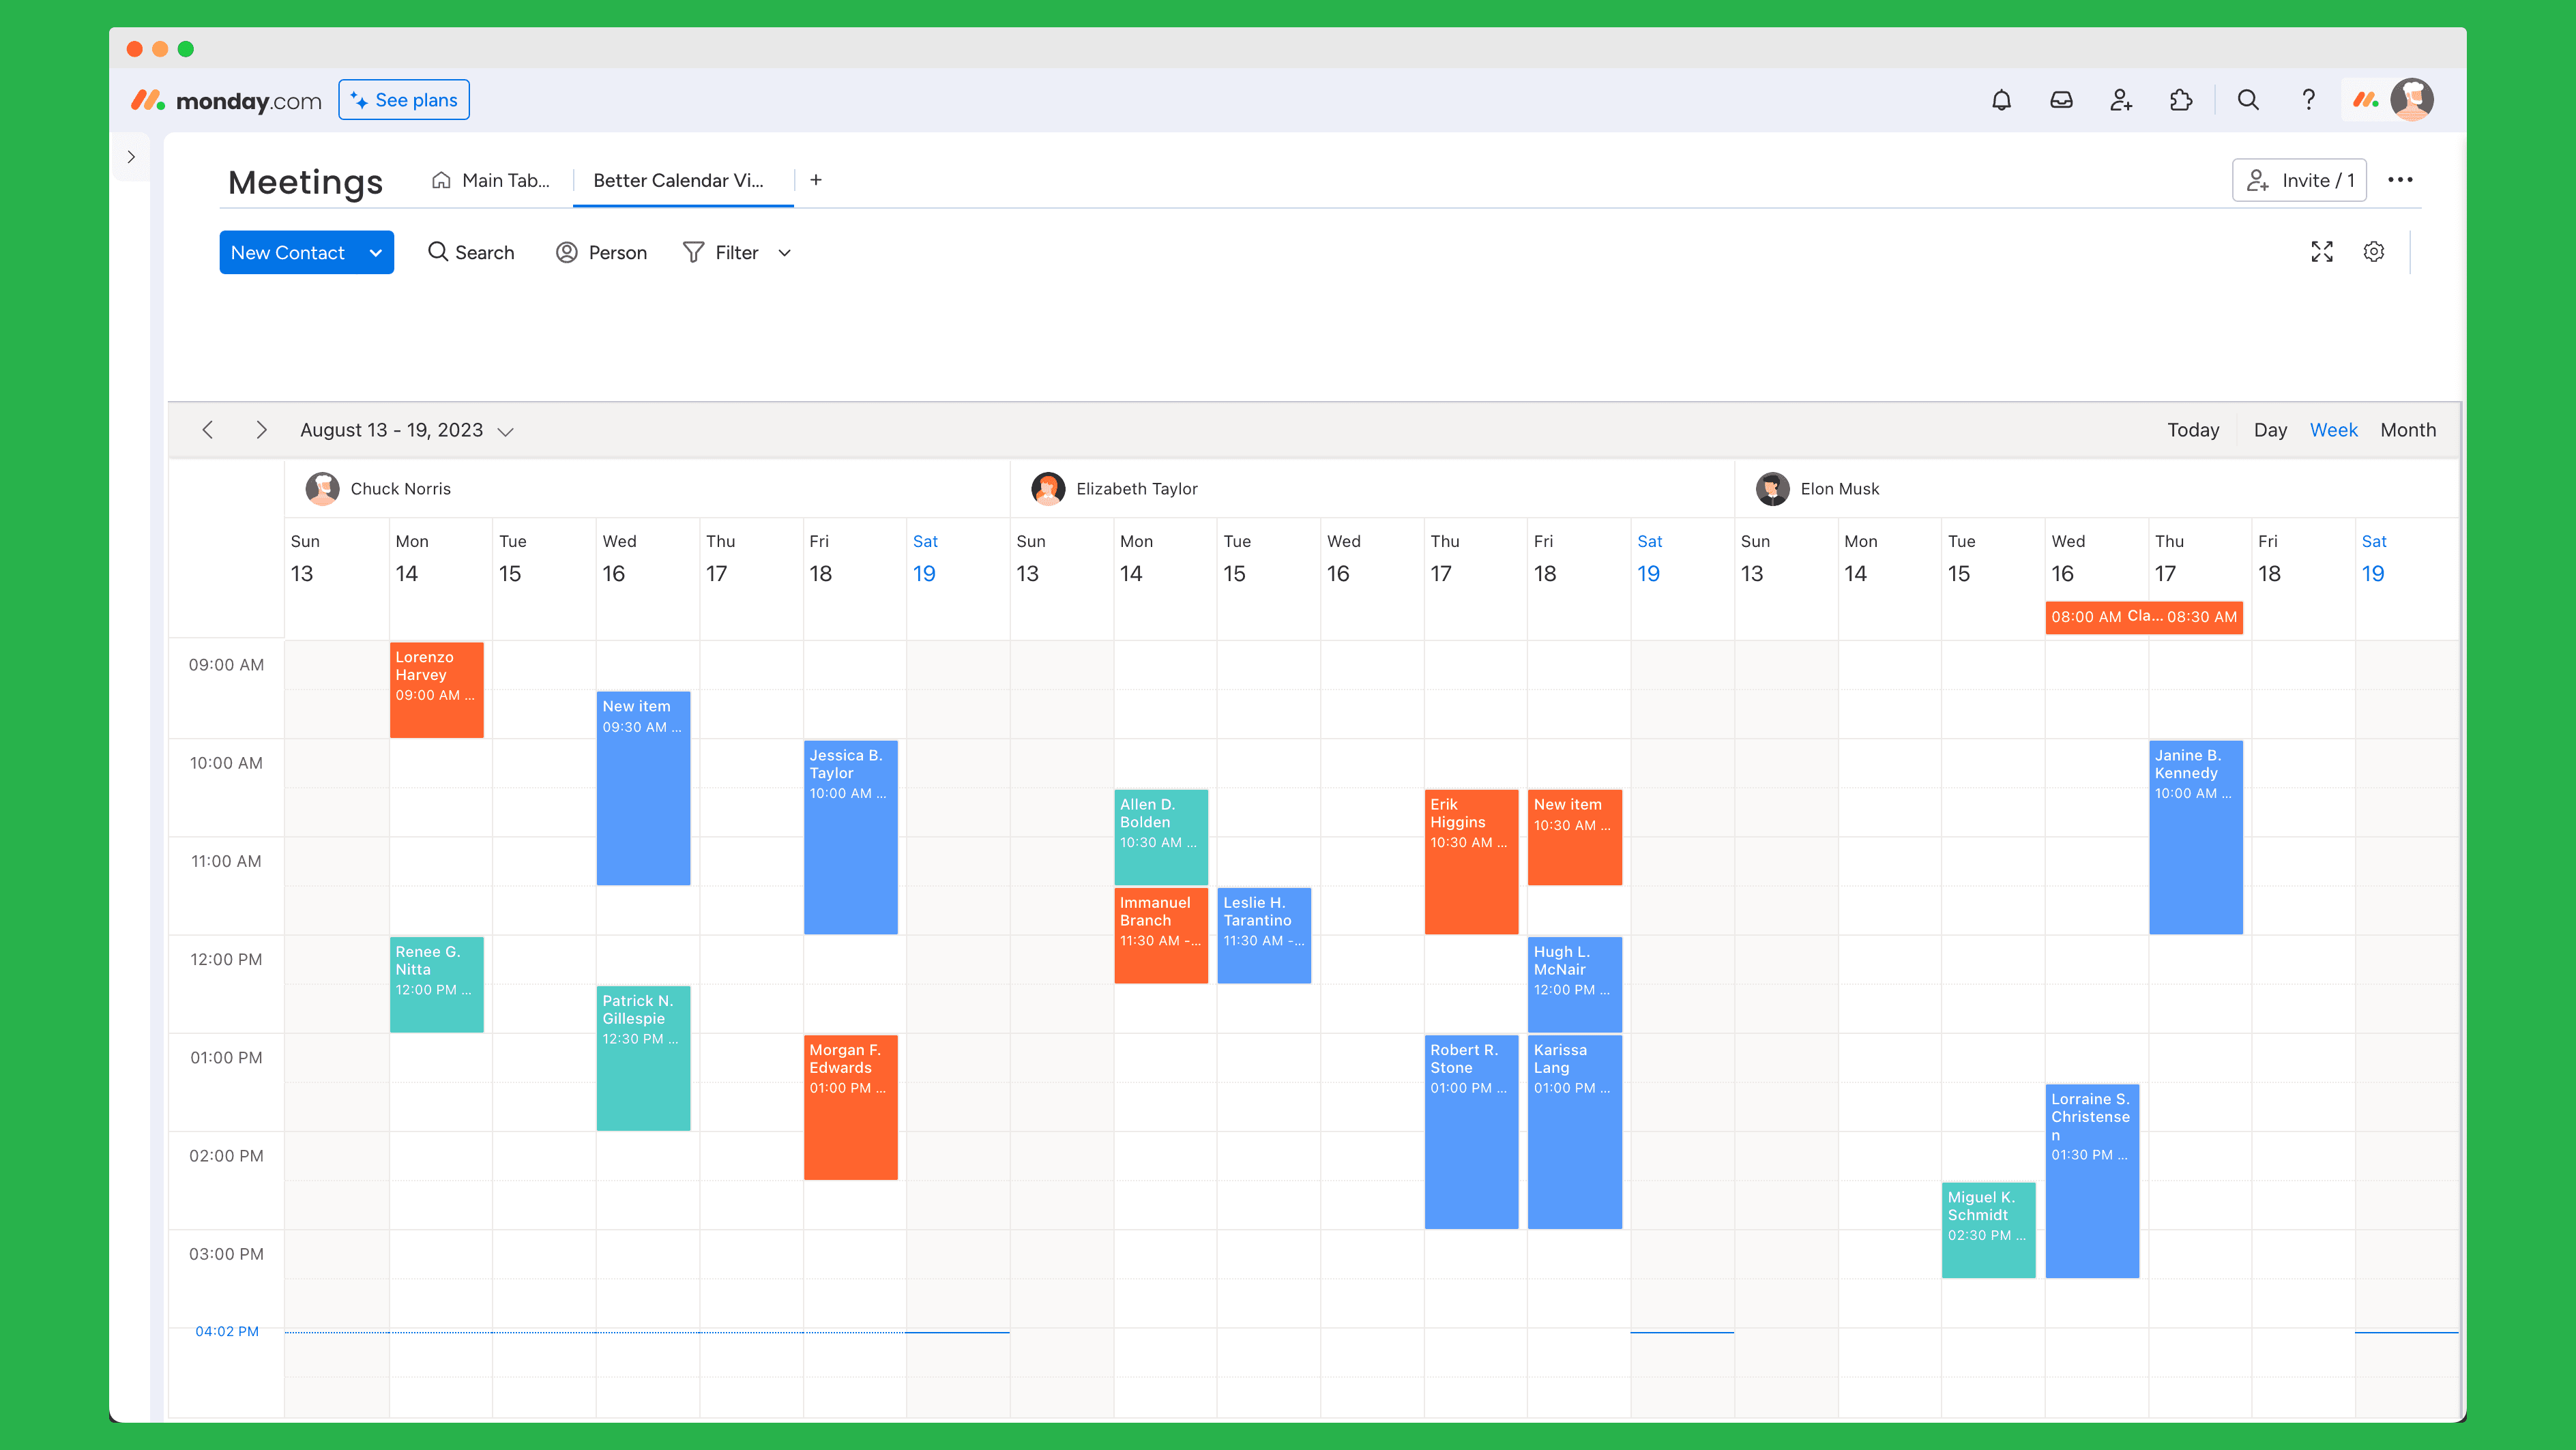
#2 Group by
Group by will allow you to group your events by a column of your choice. For example, you could group events based on Assignee column, so you can see all events assigned to a specific person grouped together.
We support the following column types that you can use to group your events by:
- People
- Status
- Location
- Tags
- Country
Just look at how nicely organized that looks!
#3 Orientation
Lastly, once you select the grouping, you can organize your calendar in one of two orientations - Horizontal or vertical. We use vertial by default, but here is how the horizontal looks like: