Two-way sync between monday.com and Outlook Calendar
In this guide, we'll show you how to create a a two-way sync with Outlook Calendar and monday.com. This integration simultaneously imports your Outlook Calendar events into monday.com and exports your monday.com items to your Outlook Calendar.
Important notes before you begin
Before you get started, there are a few details to take note of:
- You must have a Microsoft 365 Business Premium license to use this integration. If you do not have this type of license, you will receive an error message when setting up this integration.
- This integration only works if you have a Microsoft online exchange inbox and not on Premise. To check which type of inbox your account has, please visit this site. If you're able to connect, then you have an online exchange account, but if you're unable to connect and receive an error message, you don't have an online exchange account and won't be able to use this integration.
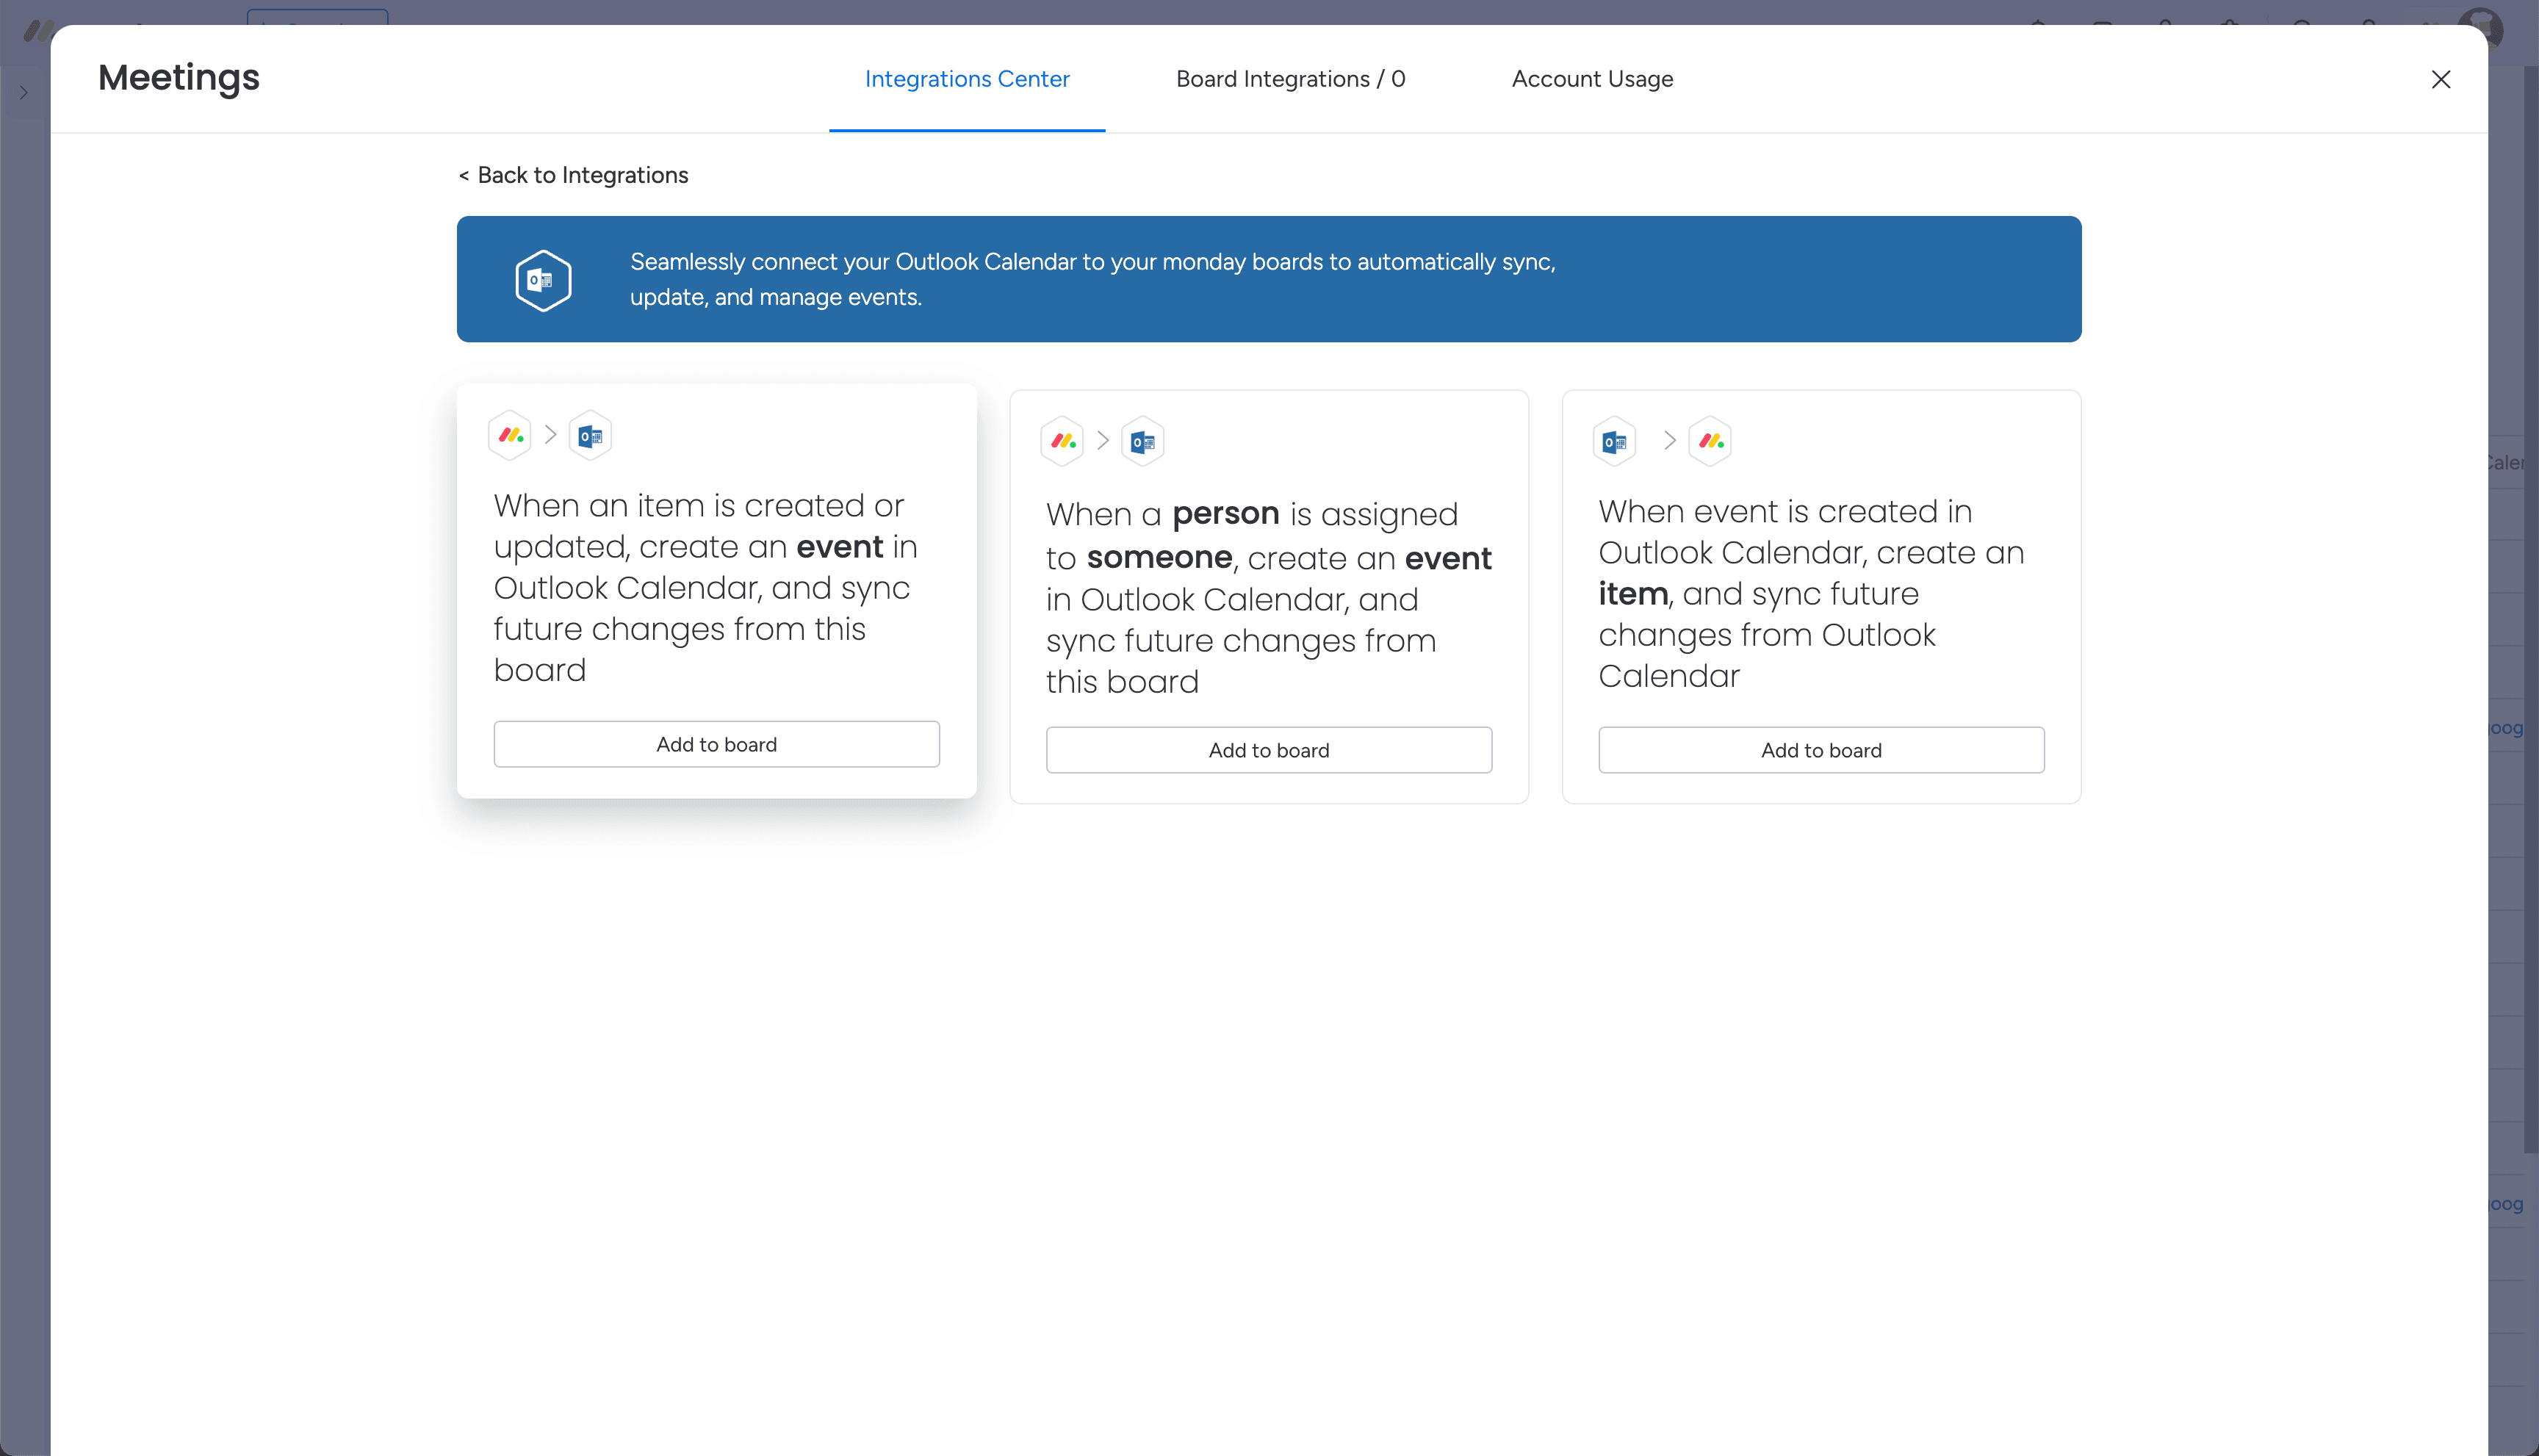
To begin the Outlook Calendar two-way sync, click on the "Integrate" button at the top of your board. From the Integrations Center, select the Outlook Calendar integration as so:
There, you'll find three separate Outlook Integration recipes. You'll need to add two recipes onto your board for the two-way sync to work:
- One that creates an event in Outlook Calendar based on an action in monday.com
- One that creates an item in monday.com based off a new event in Outlook Calendar
We'll learn more on how this can be done later in this article.
Add the first recipe
After locating the recipes, it's time to add the desired ones onto your board!
Start off by selecting a recipe that will create an event in Outlook Calendar based off an item on your board and then follow the steps on your screen to connect your Outlook account.

Click "Add to board", and select the account you want to push the events to.
Configure the first integration recipe
After completing the connection of your account, you'll be redirected to the recipe that you chose.
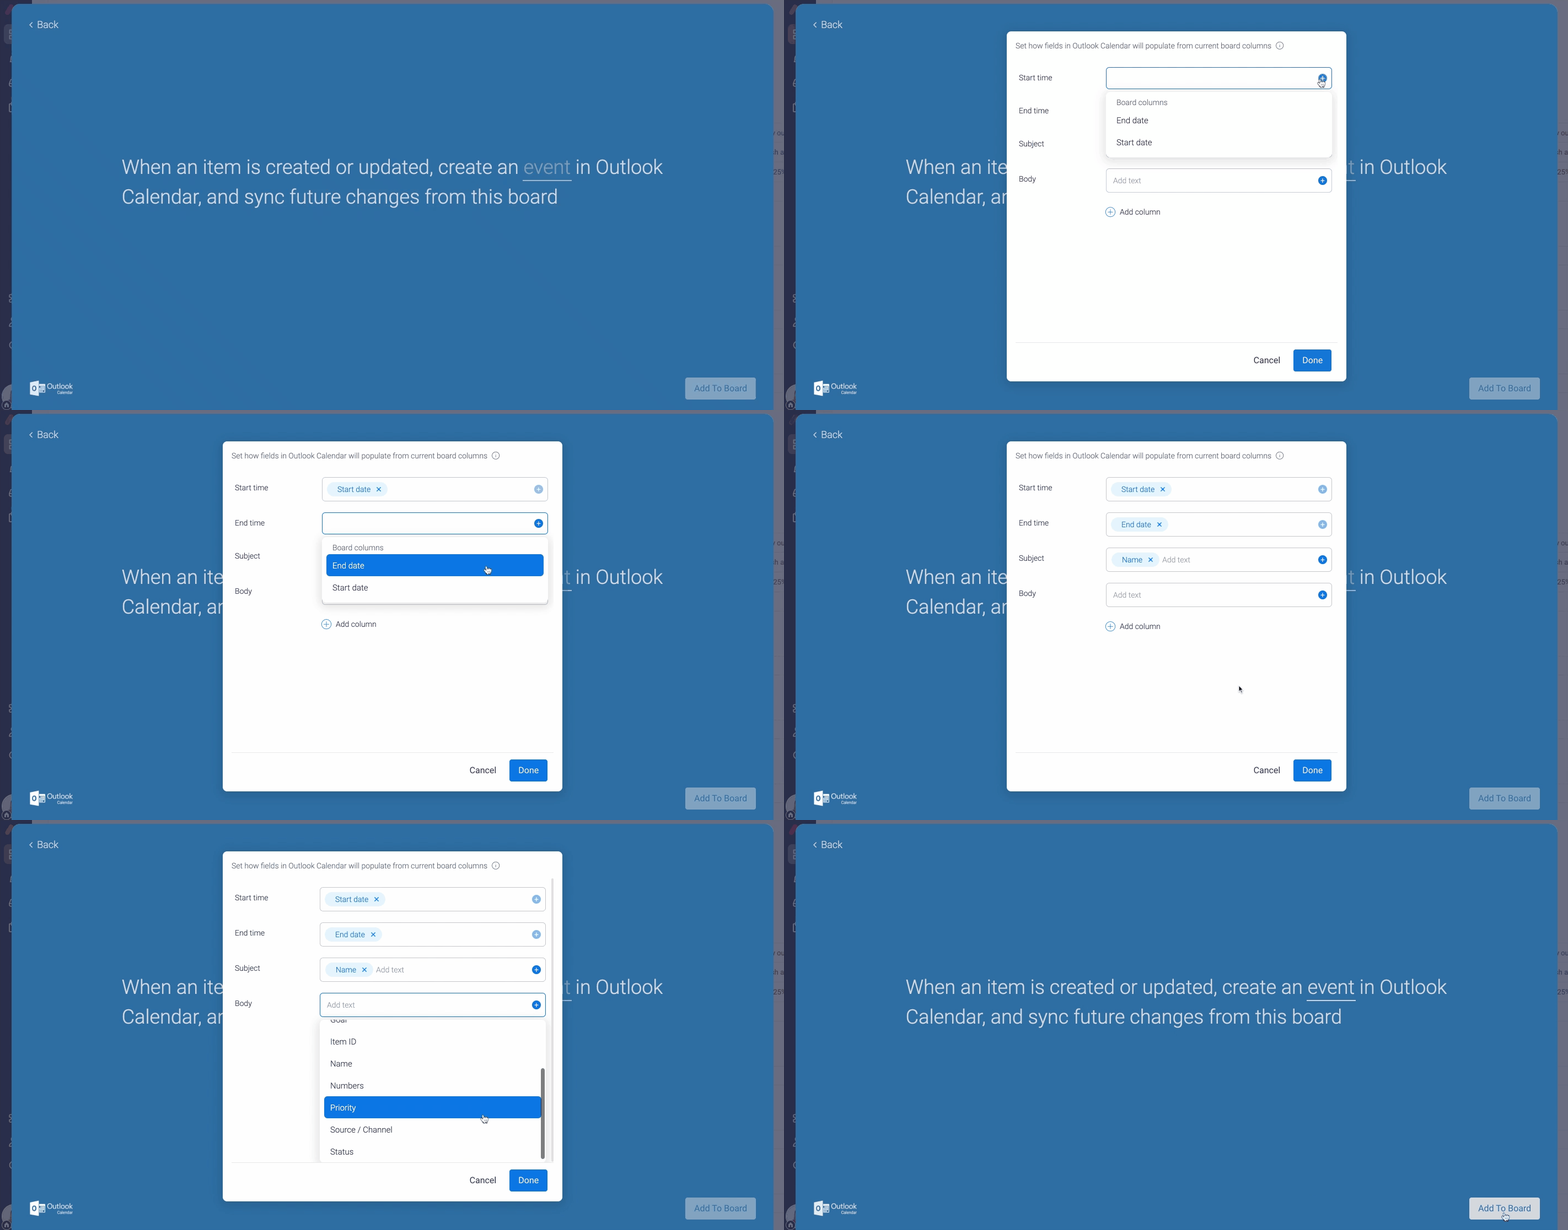
There, click on the underlined fields in the recipe to configure them. In our example below, we selected the "event" field to map out how the Outlook Calendar event will appear according to the columns values from our board.

In this example, when a new item is created or updated on our board, an Outlook Calendar event will be created with the duration of the event according to the Start date and End date of the item, the subject of the event as the Name of the item, and the description of the event as the Status that the item has.
Add the second recipe and configure it
Now that your first recipe is complete that will create an event in Outlook Calendar based off of an item on your board, it's time to add the second recipe to create an item on your board based off of a new Outlook Calendar event, thus allowing for a two-way sync.
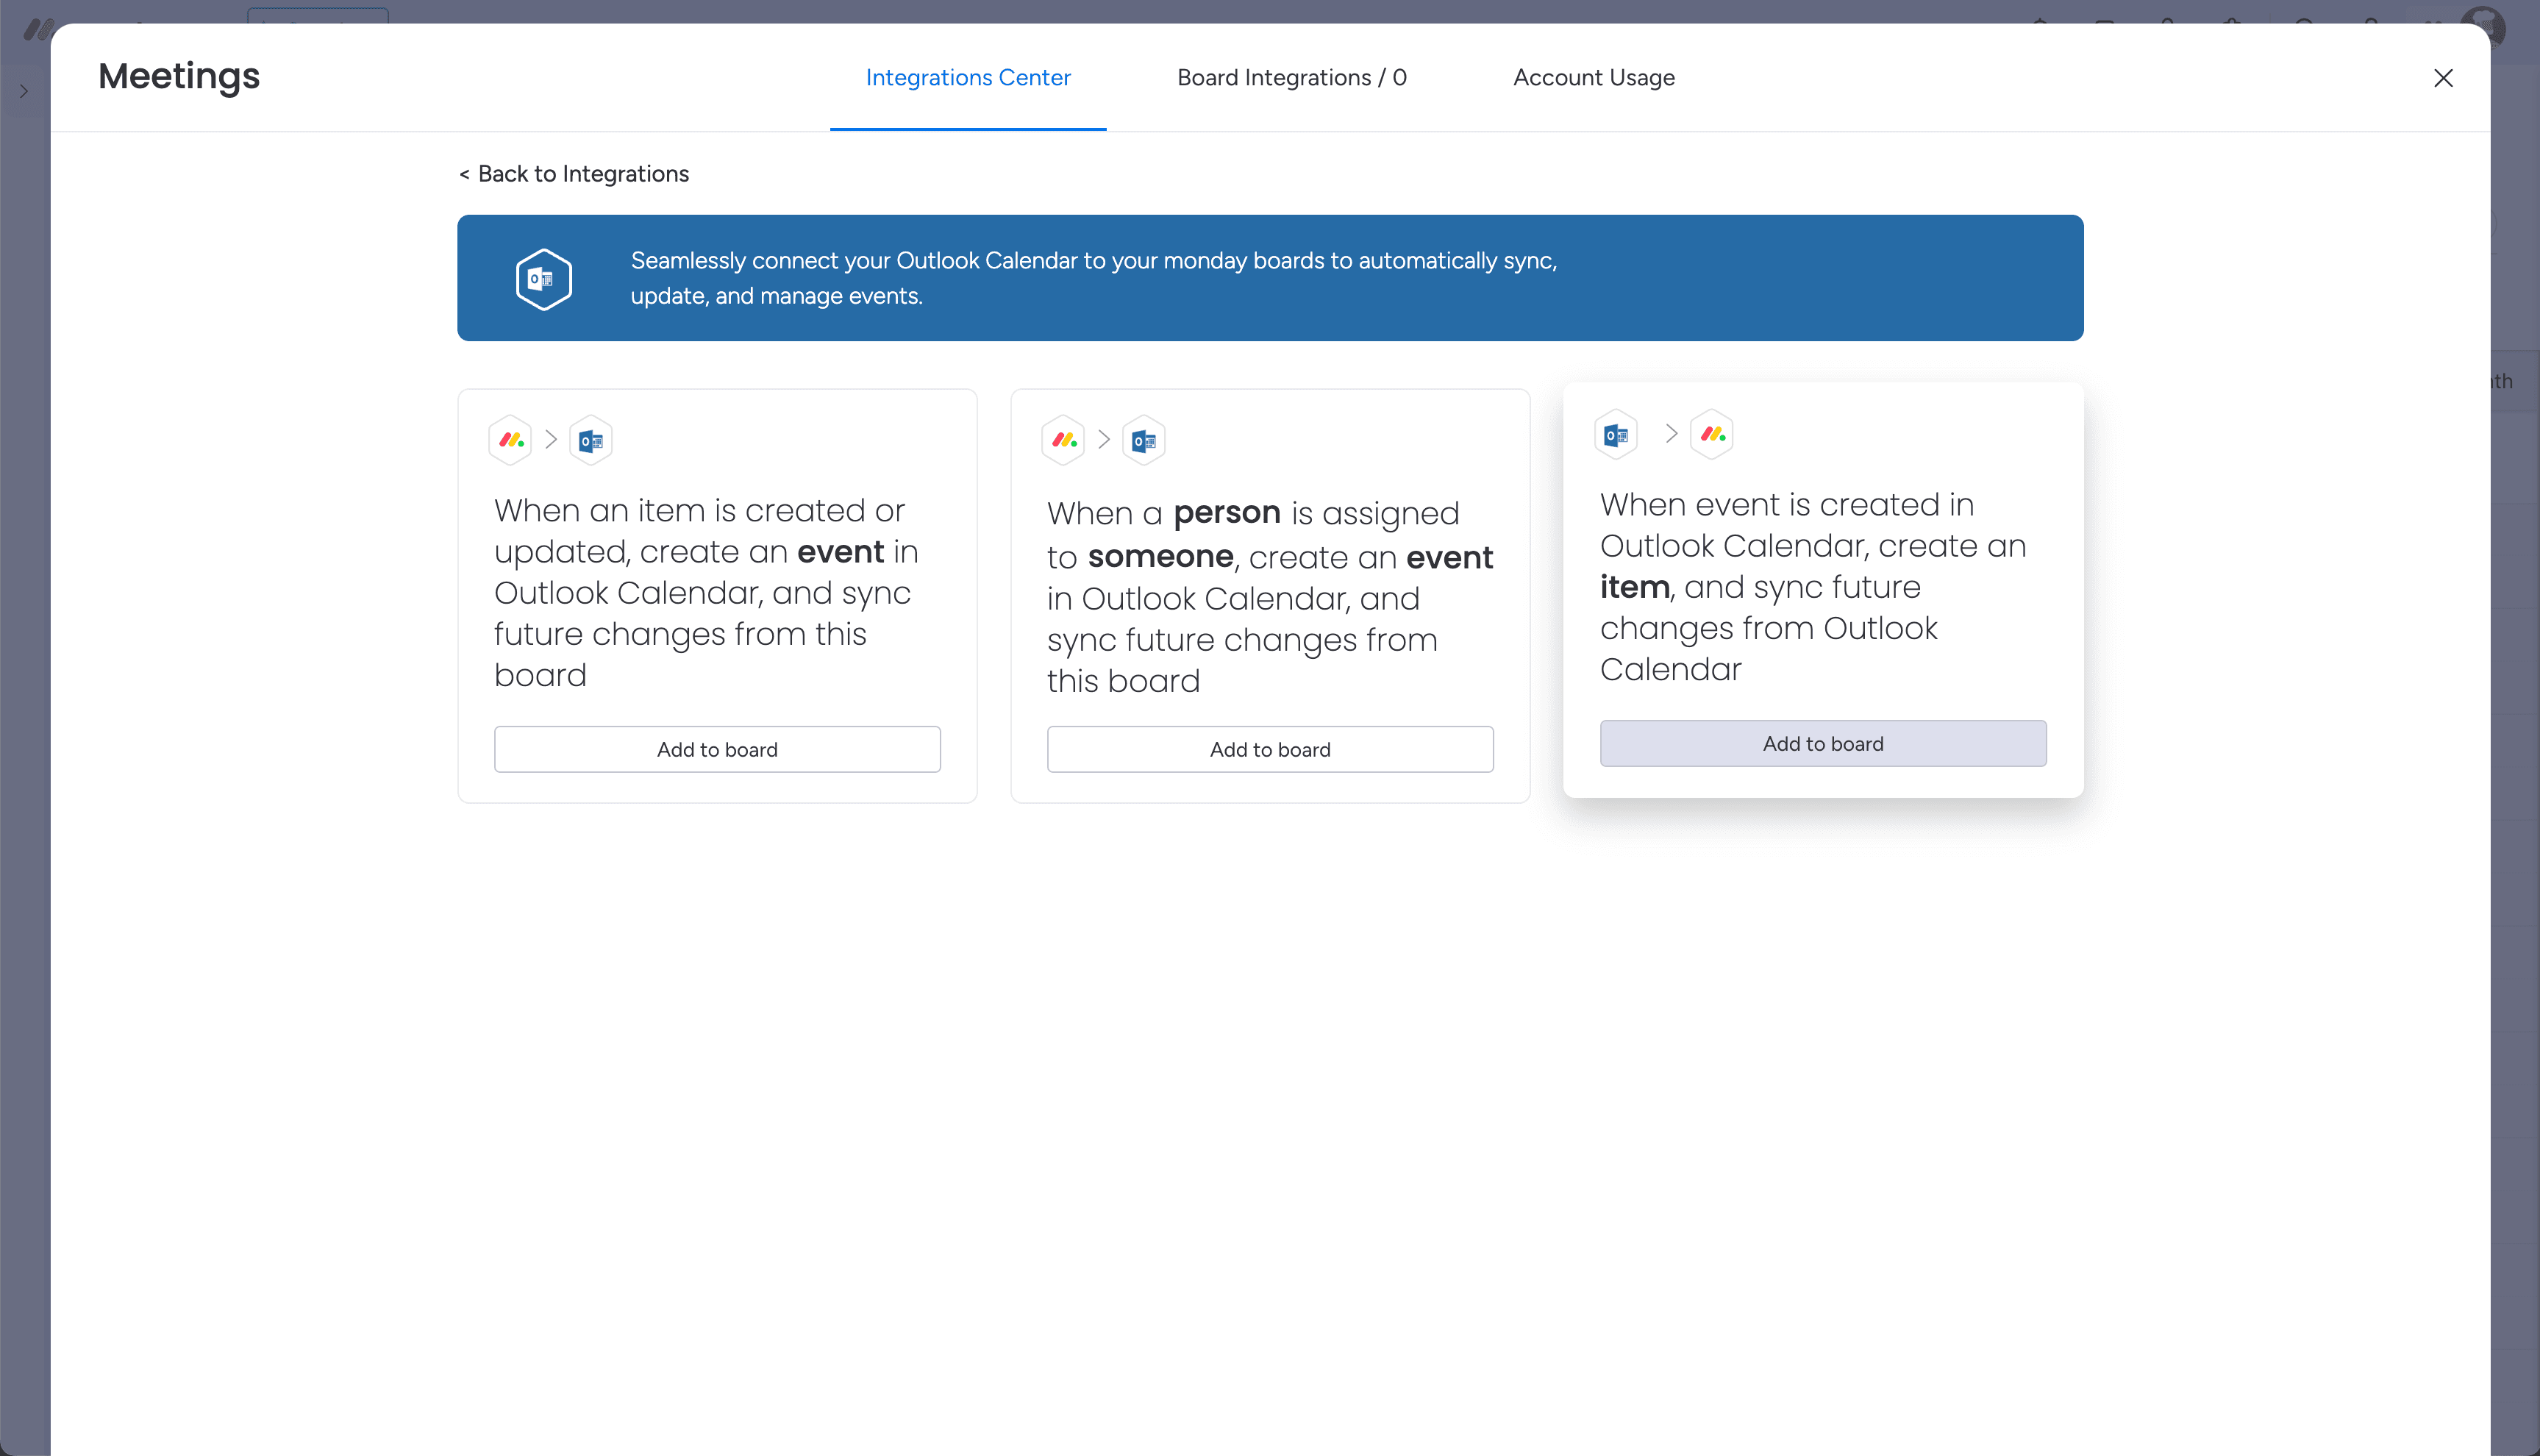
Click to add another integration and make sure to choose the Outlook Calendar Integration recipe that states "When an event is created in Outlook Calendar, create an item, and sync future changes from Outlook Calendar".

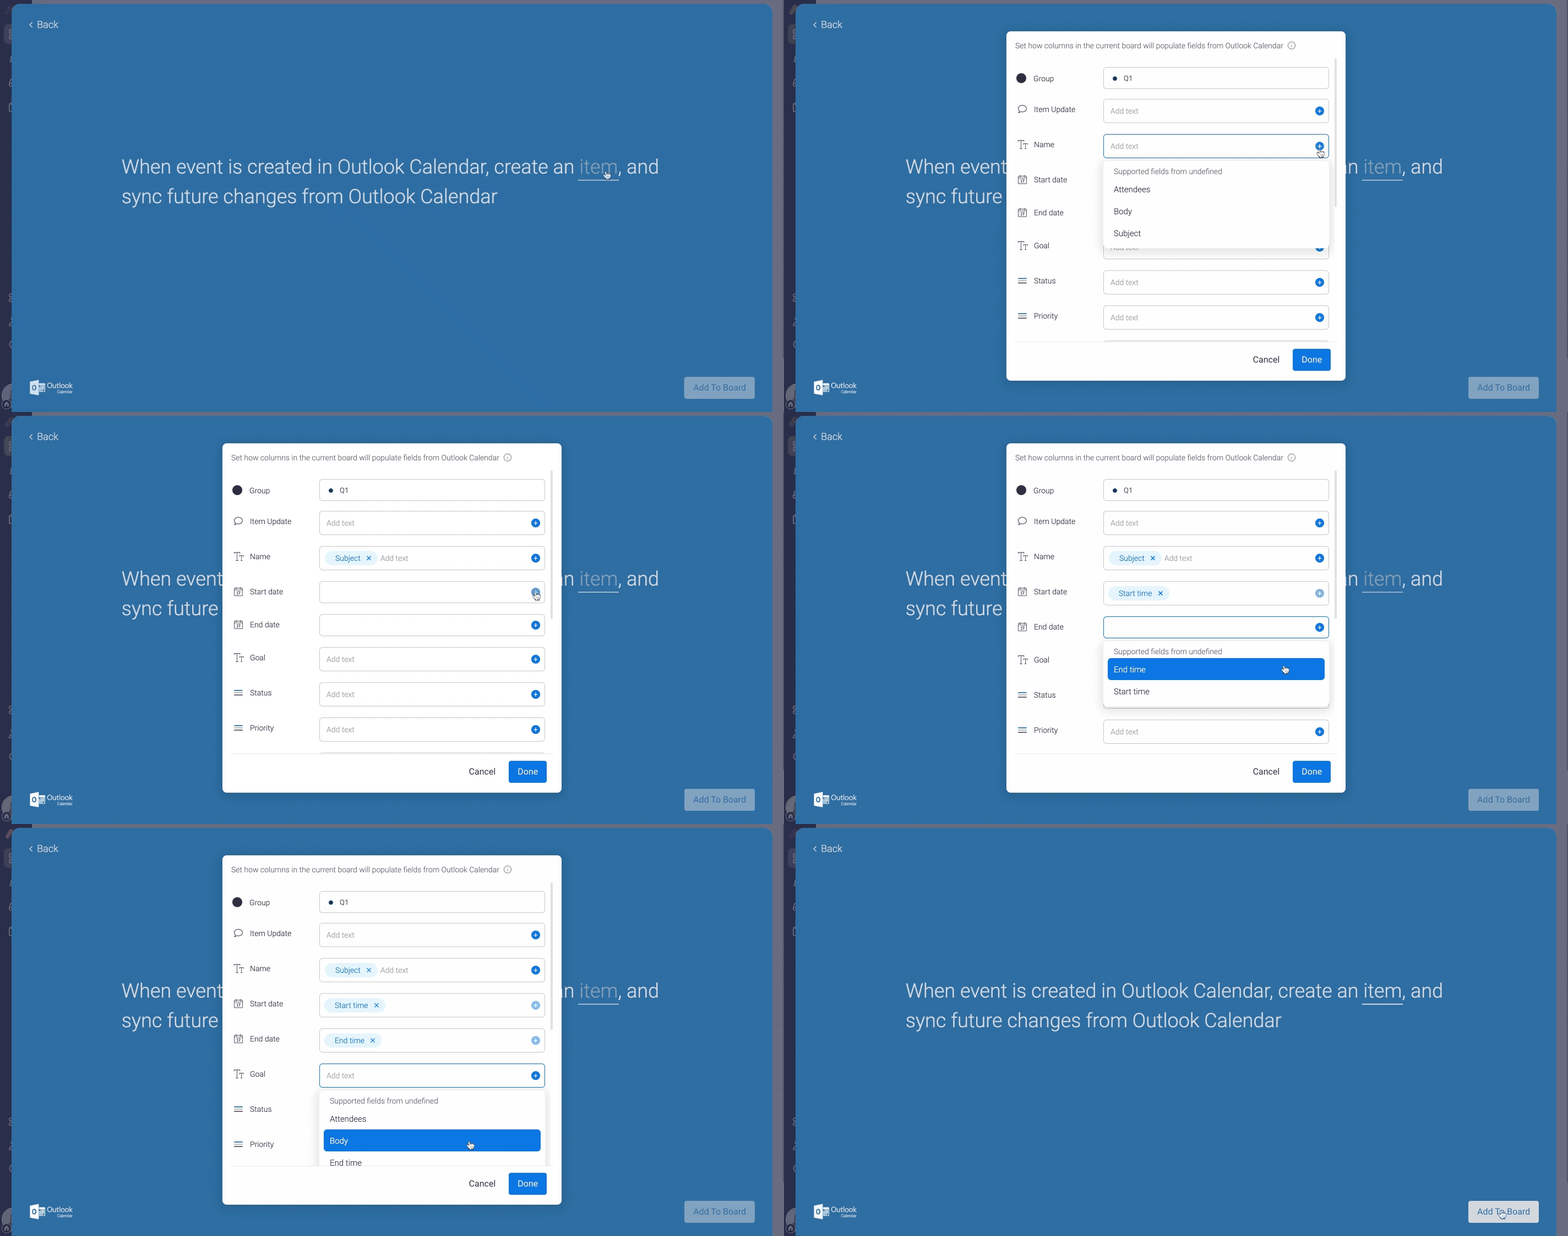
This time around, select on the "item" field and map out how you'd like a new item to be created on your board in accordance to the Outlook Calendar events that are added!

Watch the magic happen! 🎉
With both Outlook Calendar Integration recipes set-up, you should have a full two-way sync in place! Now, each new item that is created or assigned to a specific person will appear as an event on the connected calendar and every new calendar event will populate as an item on your board.